The four stages
Each one is built on the last. Skipping ahead is what produces the torn paper and the refusing to try, so the fastest route is usually the one that does not hurry.
The hand gets strong
about 2 to 3Nothing on paper yet. The grip that holds a pencil is built by squeezing, pinching and pulling — long before the pencil arrives.
- Pinching clothes pegs
- Peeling and placing stickers
- Squeezing a dropper
- Rolling and pinching dough
- Tearing paper
- Pencils
- Tracing sheets
- Hand-over-hand guiding
Ready for the next stage whenThey pick up a small sticker with a thumb and one finger, instead of scooping with the whole hand.
The strokes
about 3 to 4Every letter is made of a handful of strokes. Practise the strokes and the letters cost far less later. Big first — a wipe-clean sheet or a slate, arm moving from the shoulder.
- One direction, started from the top
- Circles anti-clockwise, every time
- Big before small
- A surface that erases, so a wobble costs nothing
- Small worksheets
- Ruled paper
Ready for the next stage whenThe stroke goes where they meant it to go, and they start it from the top without being reminded.
Shapes and enclosed spaces
about 4Strokes join up into closed shapes. This is where stopping matters — a letter is strokes that stop in the right place.
- Joining strokes into a square, then a triangle
- Colouring inside a boundary
- Tracing paths that get narrower
- Ruled notebooks
- Letters — they are the next stage
Ready for the next stage whenThey can stop a stroke where they mean to, and a shape closes up rather than trailing off.
Letters, at last
about 4 to 5Capitals first. Fifteen of the twenty-six are nothing but straight lines, every one of them starts at the top, and none of them flips into a different letter the way b and d do.
- Start with L T I H E F O C D
- Say the sound the letter makes, not only its name
- Narrate the stroke as they draw it — L is “big line down, little line across”
- Group letters by the stroke they share, not A B C
- Big on wipe-clean before ruled paper
- The whole alphabet in order
- Lowercase, until capitals are steady
- Joined-up writing
Ready for the next stage whenThe letter is recognisable and formed from the top down.
The nine strokes, in the order they arrive
Six of them are strokes that capital letters are actually built from. The other three — the plus, the square and the triangle — are shape milestones: they show the hand is ready, rather than turning up inside a letter. Tap any card to watch it drawn again — the pink dot is where the stroke starts, and the direction is the one to keep.
About those ages. They are the ages at which a child typically copies the shape from a model, unaided. Tracing one, or copying it right after watching you draw it, comes earlier — by six months to a year, depending on the shape. So a three-year-old happily tracing a triangle is completely normal; being asked to produce one from memory is not.
Other patterns worth practising
These are not part of the nine, and no shape norm is measured on them. They earn their place for a different reason: they build control, pressure and stamina, and they are far more fun to repeat than a straight line.
Signs you have moved on too fast
Any of these means go back one stage for a few weeks, on a surface that erases. Usually it is the task and not the child — but if one of them is still there after a few weeks of going back, it is worth raising with your paediatrician or an occupational therapist.
Pressing hard enough to tear the paper
Usually a sign the hand is working harder than it can hold for long.
Drawing letters from the bottom up
The stroke order has not settled yet. It gets harder to undo the longer it runs.
Refusing to try
Almost always the task, not the child.
Asking you to hold their hand
They know the shape but cannot yet drive it themselves.
A fist grip after about four
Before that a whole-hand grip is normal and needs no correcting — fingers take over somewhere between three and four.
The whole progression, already in order
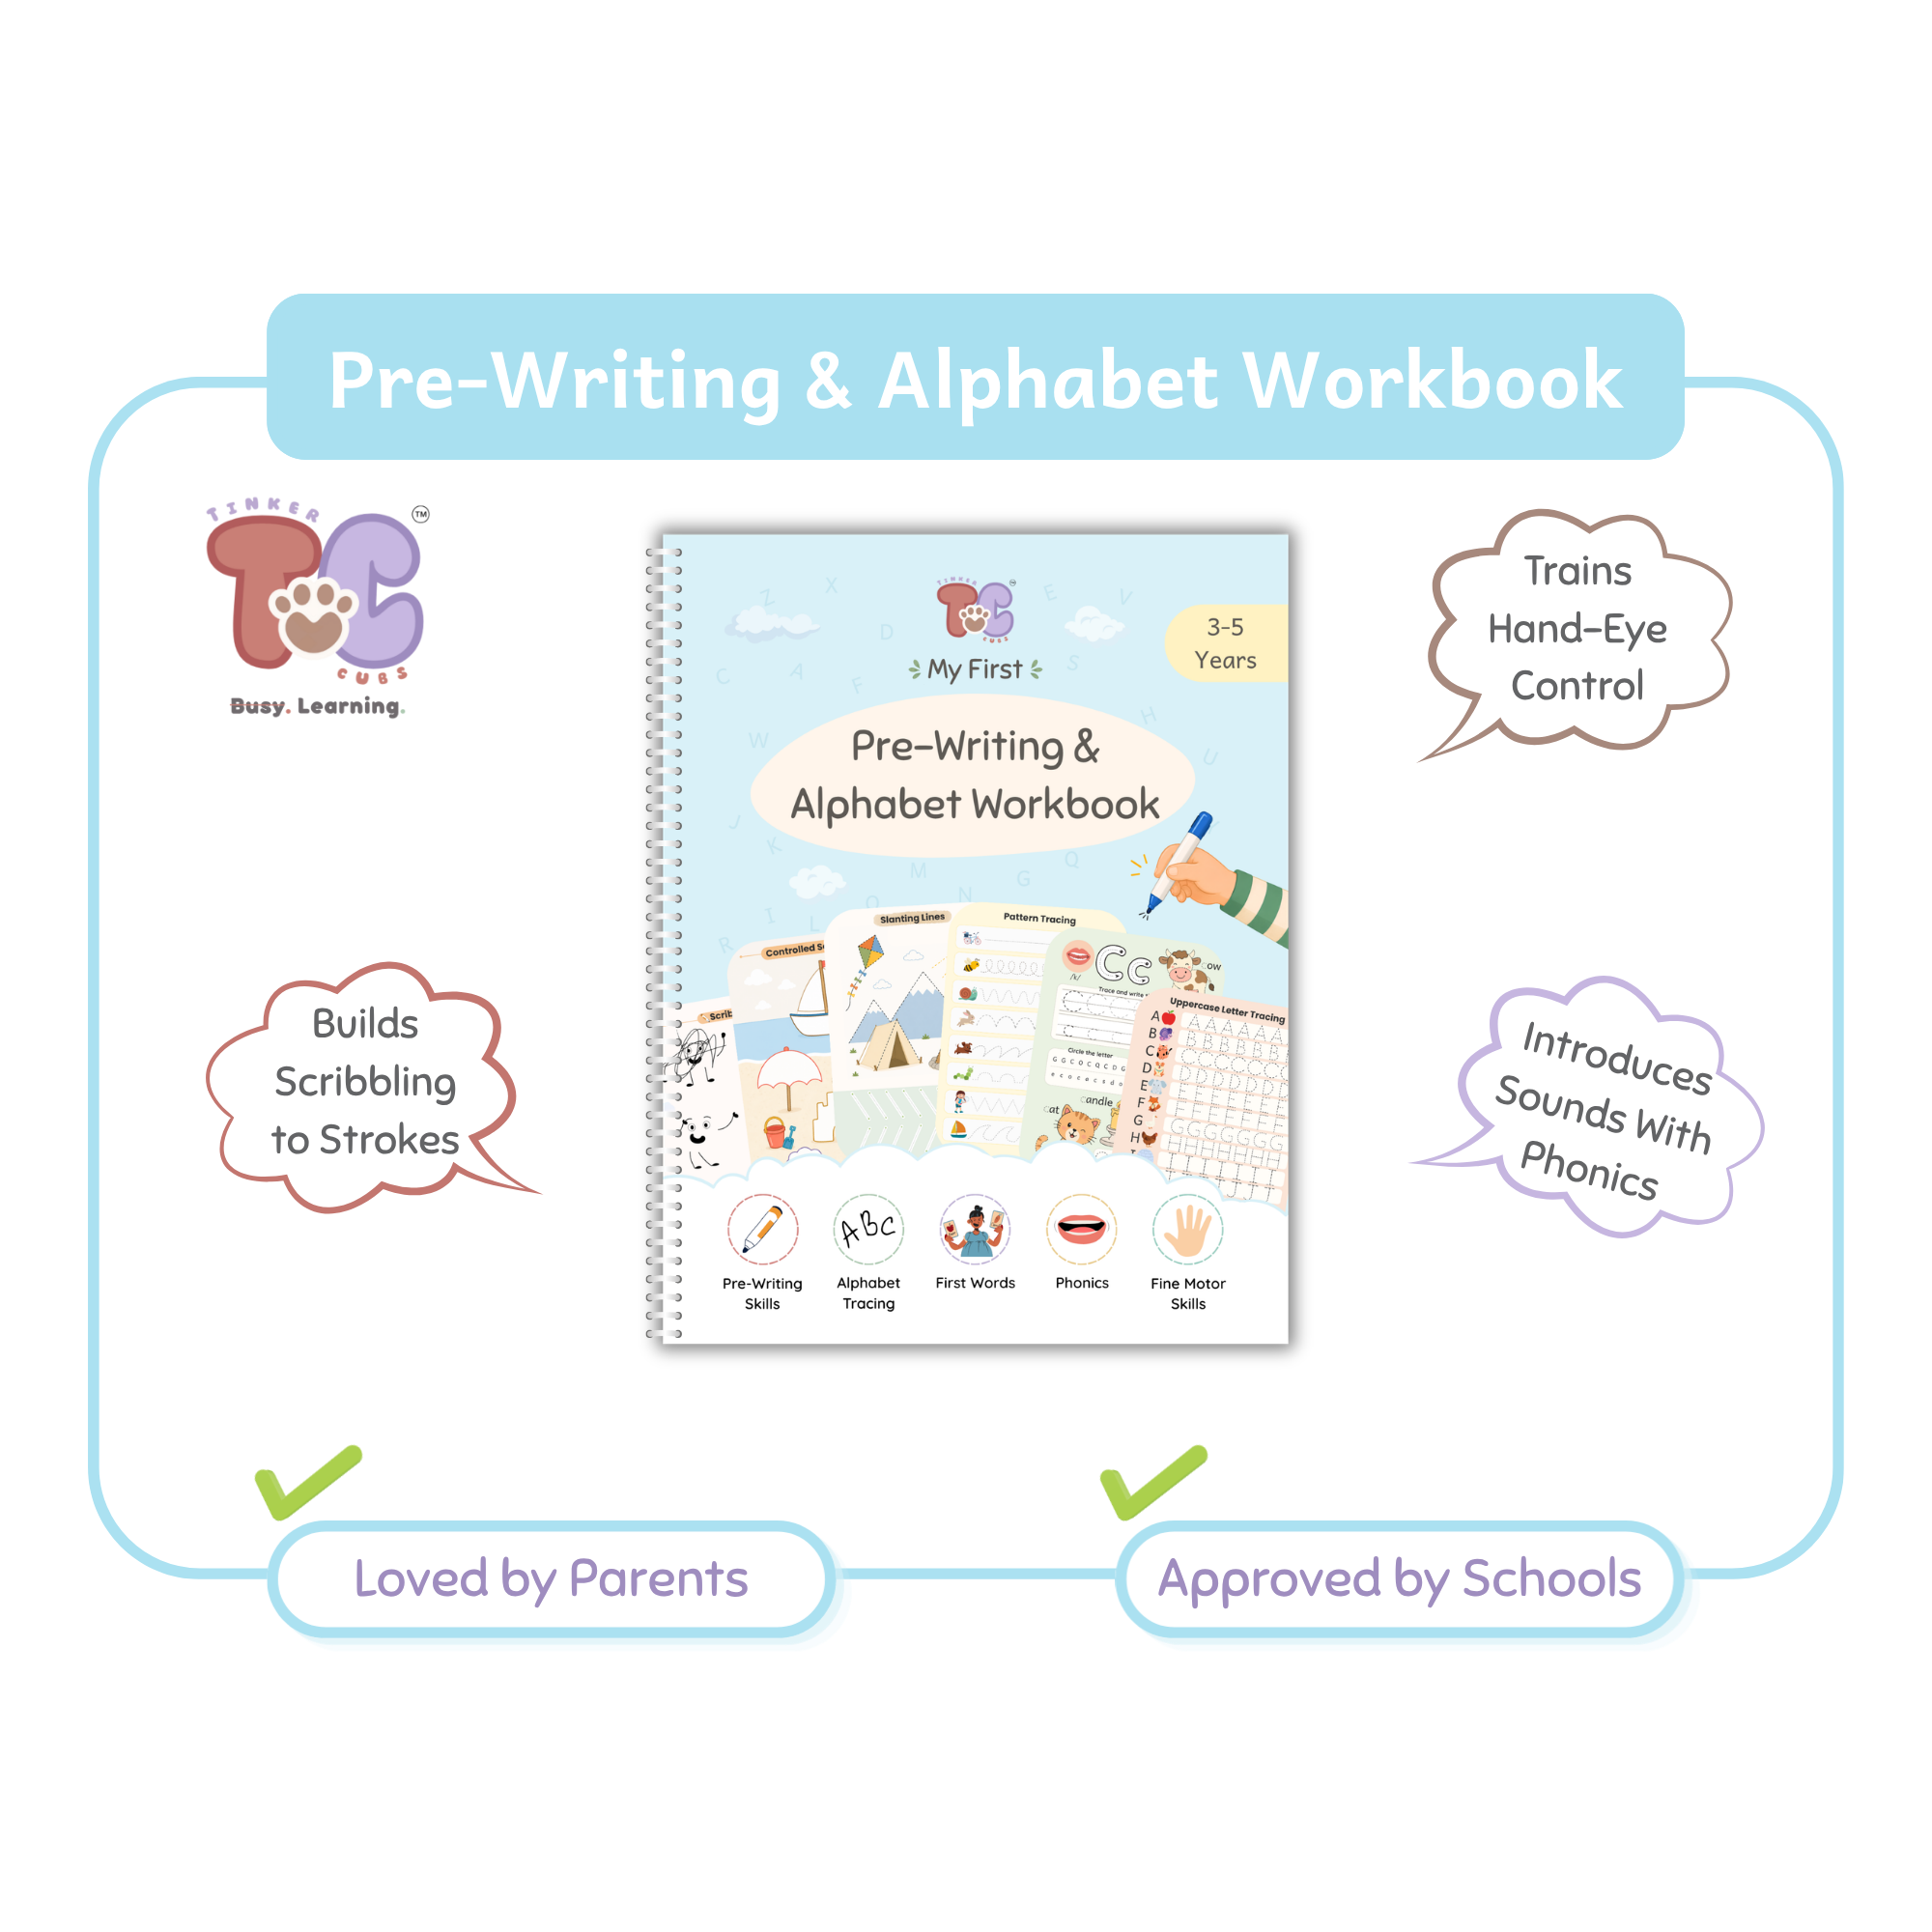
My First Pre-Writing & Alphabet Workbook follows this same progression, stage by stage. It wipes clean, so a wobble costs nothing and the same page can be done again and again.
See the workbook